

If the idea of joining a gym feels overwhelming, or you’ve looked at a set of dumbbells and thought “I have no idea where to start,” you’re not alone. Many people who want to get stronger feel stuck between knowing movement is important and not knowing how to begin without looking foolish or getting hurt.
Resistance bands solve that problem in a remarkably practical way. They’re inexpensive, pack into a drawer, and deliver real, measurable strength gains for people at every fitness level. Research suggests that resistance band training can produce muscle activation and strength outcomes comparable to free-weight training across several common exercises, making them a legitimate tool rather than a compromise.
This tutorial walks you through everything you need to start resistance band workouts for beginners, including how to choose the right band, how to position your body safely, a complete foundational routine you can do in your living room, and a simple progression plan so you keep making progress week after week.
Why Resistance Bands Are a Smart Starting Point
Before jumping into the exercises, it helps to understand what makes resistance bands uniquely well-suited to beginners.
Accommodating resistance. Unlike a dumbbell, which provides the same resistance through the entire movement, a band gets progressively harder as you stretch it. This means the hardest part of the exercise happens when your muscles are in their strongest position, which research suggests may reduce injury risk at the most vulnerable joint angles.
Portability and cost. A full set of looped bands typically costs between $15 and $40. No gym membership, no rack, no large equipment investment required.
Scalability. You can increase or decrease difficulty by switching band resistance levels, changing your stance width, or adjusting how much band you grip. This makes resistance band workouts for beginners easy to adapt as you grow stronger.
Low intimidation factor. There’s no barbell to load, no machine to figure out, and no gym floor to navigate. You control the pace and environment entirely.
If you’re interested in building on this foundation with bodyweight movements alongside bands, the Strength Training for Beginners at Home: Build Confidence and Lean Muscle Without Equipment or a Gym guide pairs well with this tutorial.
Choosing Your First Resistance Band
Not all resistance bands are created equal. Here’s a quick breakdown of the main types you’ll encounter.
Loop Bands (Mini Bands)
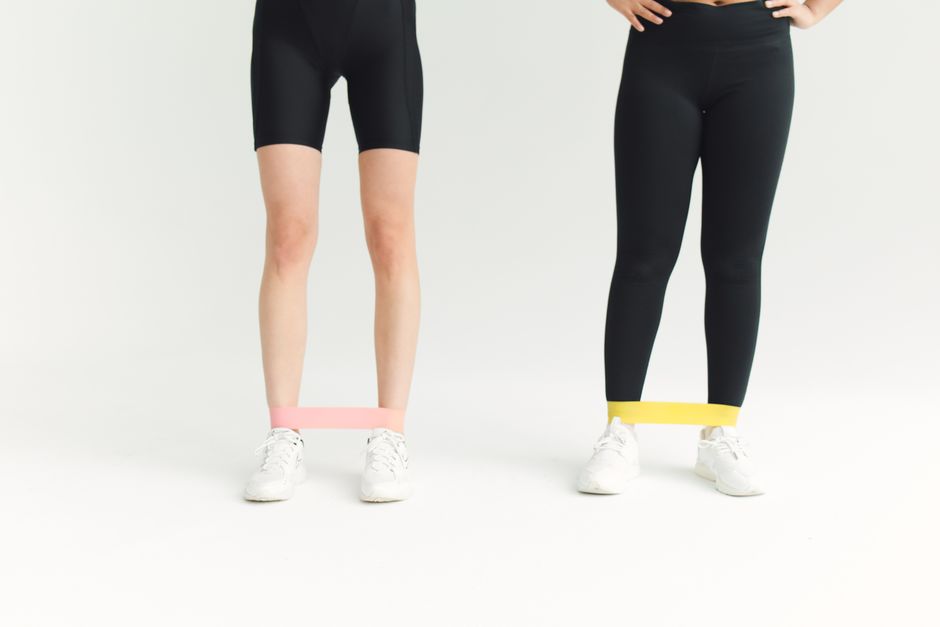
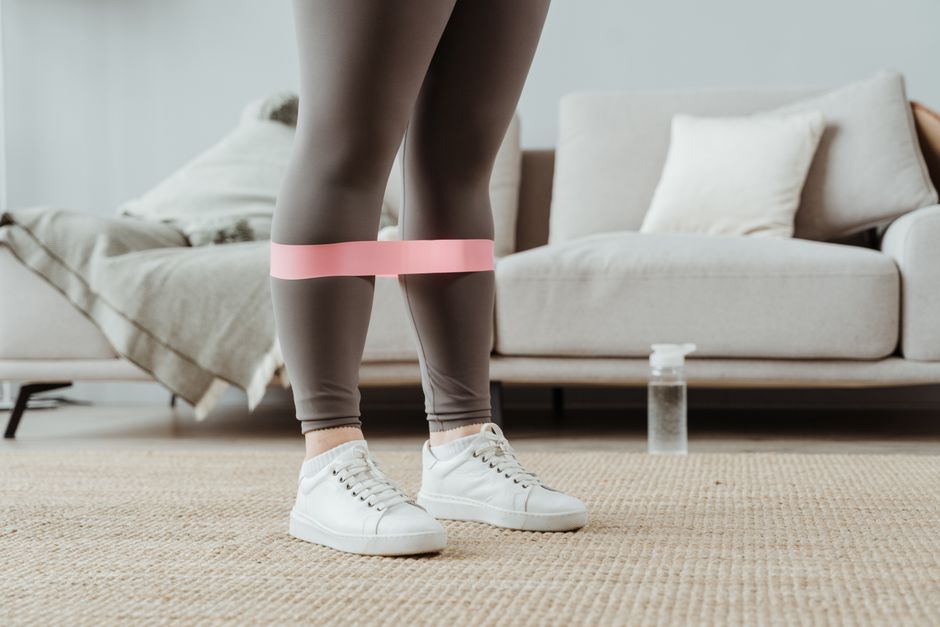
Small, flat loops typically 12 inches long. Great for glute work, lateral leg movements, and adding resistance to squats. Usually sold in sets of three to five with light, medium, and heavy resistance.
Long Loop Bands (Pull-Up Bands)
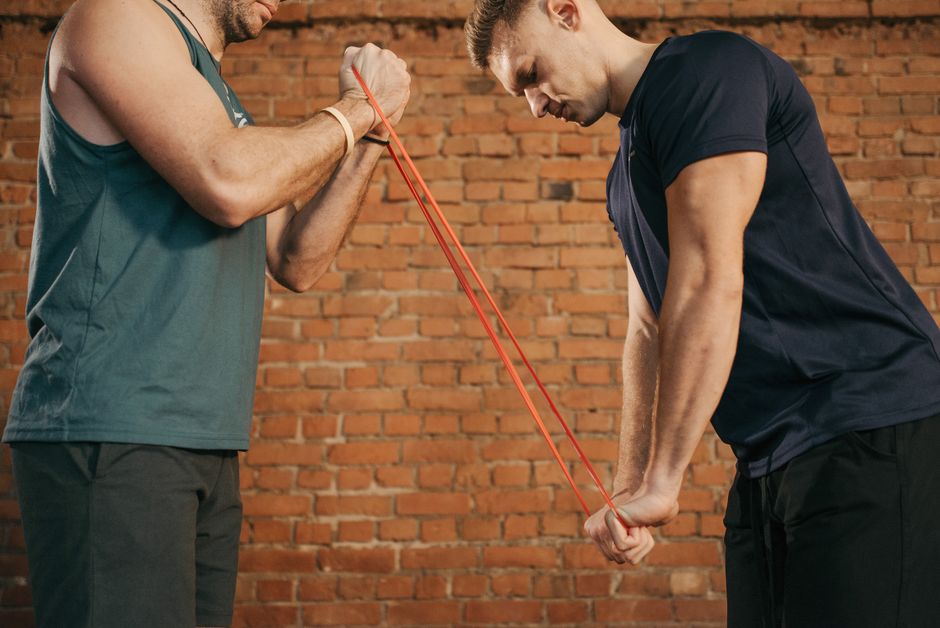
Larger loops, roughly 41 inches. Versatile enough for upper body, lower body, and full-body exercises. Ideal if you want one type of band for everything.
Tube Bands with Handles
Elastic tubes with plastic or foam handles at each end. Comfortable for rows, bicep curls, and chest presses. Often come with door anchors for added variety.
Beginner recommendation: Start with a set of three long loop bands (light, medium, heavy) and a set of mini loops. This combination covers nearly every exercise in this tutorial and gives you room to progress. Look for latex-free options if you have a latex sensitivity.
How to check safety before using a band: Inspect each band before every session. Look for small cracks, tears, or discoloration. A snapped band can cause real injury, so retire any band that shows wear.
Setting Up a Safe Practice Space
You don’t need much room, but a few quick checks make your space safer:
- Clear a 6-foot by 4-foot area of furniture and hard objects.
- Place a yoga mat or folded blanket under your feet for grip and cushion.
- Anchor door attachments to a solid door that opens away from you.
- Keep the band path clear of sharp furniture edges.
- Wear flat-soled shoes or go barefoot to feel stable foot connection with the floor.
Beginner Form Fundamentals to Know Before You Move
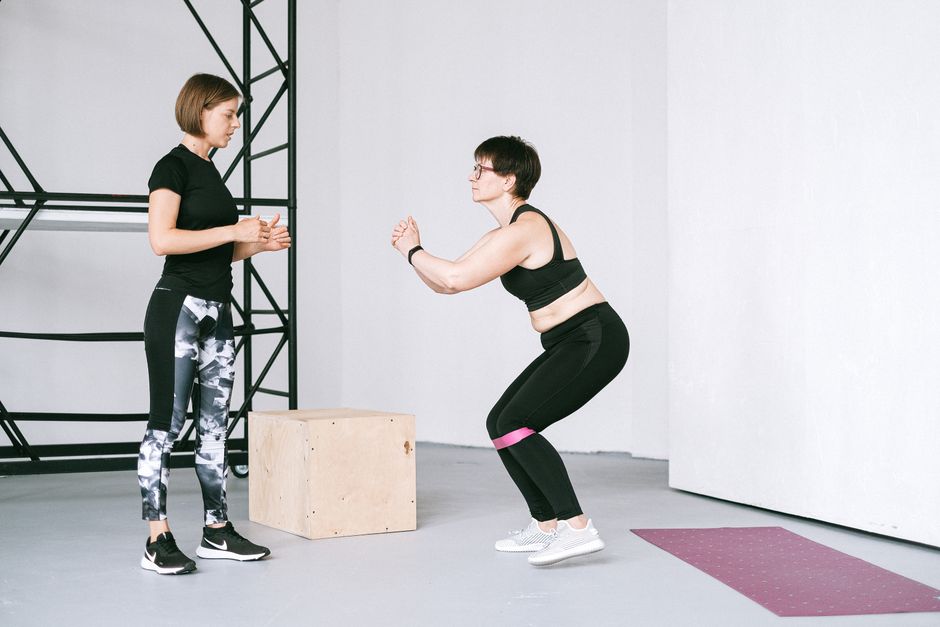
Good form protects your joints and makes every exercise more effective. Review these principles before starting any exercise.
Neutral Spine
For most standing and seated exercises, think of stacking your head over your shoulders, your shoulders over your hips. Avoid rounding your lower back or letting your chest collapse forward.
Controlled Breathing
Exhale as you move against the resistance (the working phase). Inhale as you return to the starting position. Holding your breath raises blood pressure and reduces stability.
Slow, Deliberate Tempo
A tempo of 2 seconds on the working phase and 2 to 3 seconds on the return phase keeps your muscles under tension longer and reduces the momentum that bypasses the muscles you’re trying to train.
Stop Before You Lose Form
When your form breaks down, the set is over, regardless of how many reps you planned. Building strength safely means earning better form before adding more resistance.
The Foundational Resistance Band Routine for Beginners
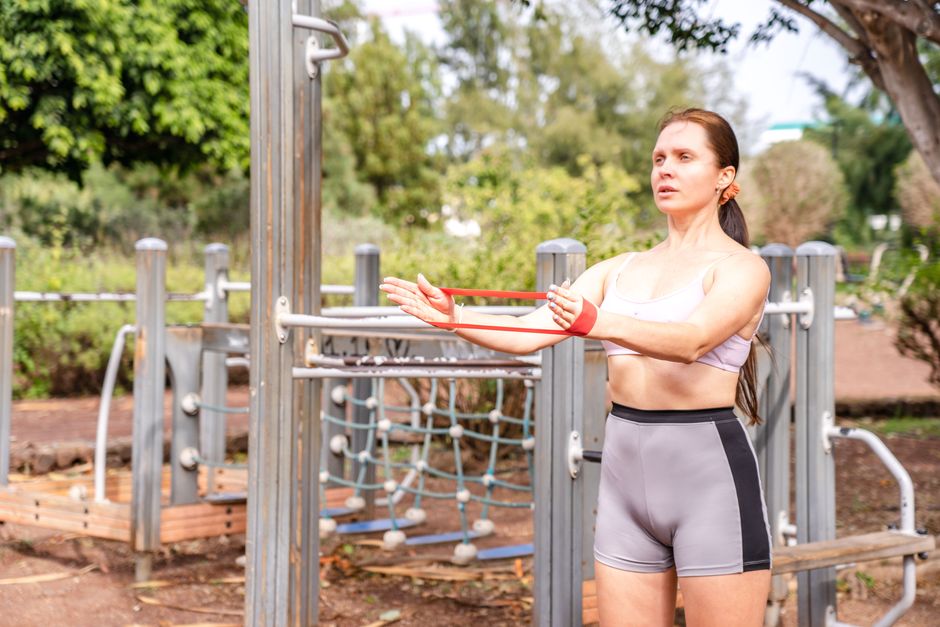
This routine targets the major muscle groups across your entire body using minimal equipment. Perform it two to three times per week with at least one rest day between sessions. Start with one set of each exercise. Once that feels manageable, build to two sets, then three, over several weeks.
Warm-up (5 minutes): March in place, arm circles, hip circles, and five slow bodyweight squats to increase circulation and joint mobility before adding band resistance.
Exercise 1: Banded Squat
Target muscles: Quads, glutes, hamstrings
Band placement: Step both feet onto a long loop band, shoulder-width apart. Hold the top of the band at shoulder height with both hands, elbows pointing forward.
- Stand tall, feet shoulder-width apart, toes pointed slightly outward.
- Push your hips back and bend your knees as if lowering onto a chair.
- Keep your chest up and knees tracking over (not caving inside of) your toes.
- Lower until your thighs are roughly parallel to the floor, or as deep as feels comfortable.
- Press through your heels to return to standing.
- Do 10 to 12 repetitions.
Beginner tip: If balance is a challenge, lightly rest one hand on a wall while holding the band with the other.
Exercise 2: Banded Glute Bridge
Target muscles: Glutes, hamstrings, lower back
Band placement: Loop a mini band just above your knees.
- Lie on your back with knees bent and feet flat on the floor, hip-width apart.
- Press your knees slightly outward against the band to activate the glutes.
- Press through your heels and lift your hips toward the ceiling until your body forms a straight line from shoulders to knees.
- Squeeze your glutes at the top for one full second.
- Lower slowly and repeat for 12 to 15 repetitions.
Exercise 3: Banded Bent-Over Row
Target muscles: Upper back, biceps, rear shoulders
Band placement: Stand on the center of a long loop band with feet hip-width apart. Hold one end in each hand.
- Hinge forward at the hips about 45 degrees, keeping your back flat and core gently braced.
- Let your arms hang straight down.
- Pull both hands toward your lower ribs, squeezing your shoulder blades together.
- Lower slowly and repeat for 10 to 12 repetitions.
Common mistake: Pulling with your wrists and arms only. Think about leading the movement with your elbows and squeezing your back muscles to do the work.
Exercise 4: Banded Chest Press (Standing or Floor)
Target muscles: Chest, front shoulders, triceps
Band placement: For standing, anchor the band behind you through a door anchor at chest height, or hold the band behind your back with both hands.
- Stand in a staggered stance for balance.
- Start with hands at chest height, palms facing down.
- Press both hands straight out in front until arms are nearly extended.
- Return slowly to the start position.
- Do 10 to 12 repetitions.
Floor option: Lie on your back with the band anchored under your shoulder blades, press upward from chest height.
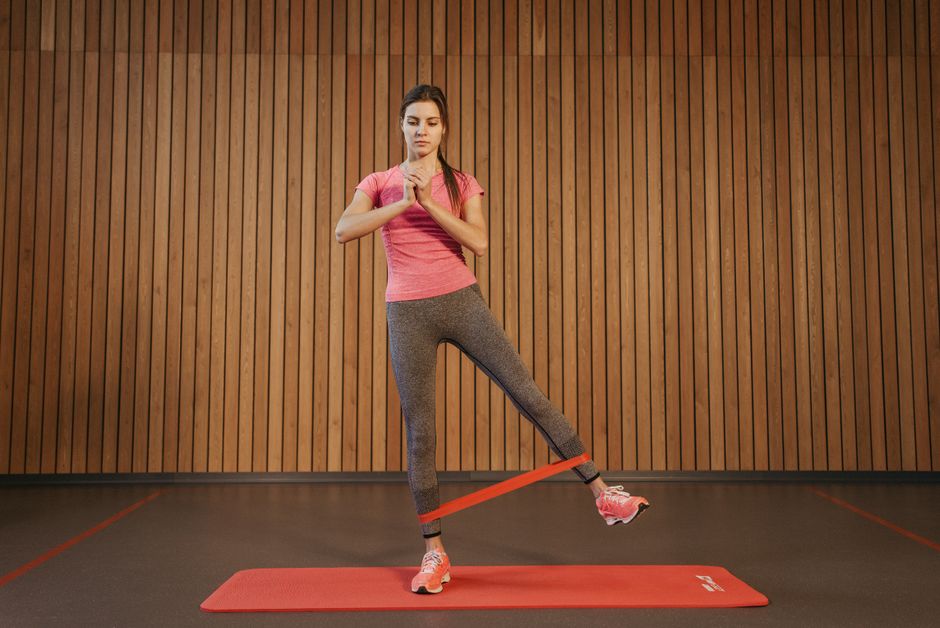
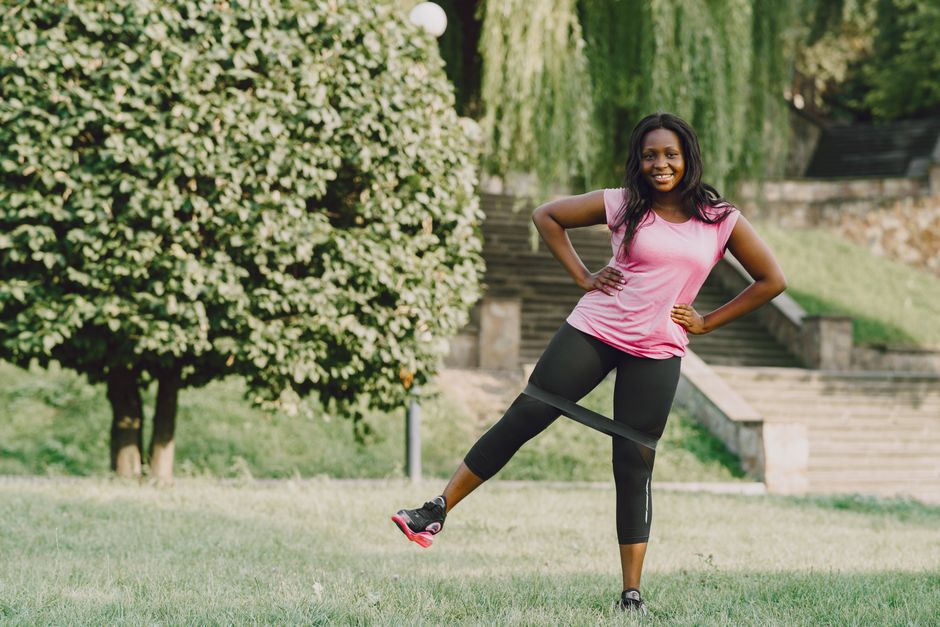
Exercise 5: Banded Lateral Walk
Target muscles: Hip abductors, glutes, outer thighs
Band placement: Mini band just above ankles or around the feet.
- Stand in a slight squat position, knees soft.
- Take 10 small steps to the right, then 10 steps back to the left, maintaining tension on the band throughout.
- Keep your core stable and avoid hiking your hips up and down as you step.
- Complete two full passes (right and left) as one set.
Exercise 6: Banded Standing Bicep Curl
Target muscles: Biceps, forearms
Band placement: Stand on the center of the band, feet hip-width. Hold one end in each hand, palms facing forward.
- Keep elbows pinned close to your sides.
- Curl both hands toward your shoulders, squeezing your biceps at the top.
- Lower with control over two to three seconds.
- Do 10 to 12 repetitions.
Exercise 7: Banded Overhead Press
Target muscles: Shoulders, triceps, upper traps
Band placement: Stand on the center of the band. Hold the top of the band at shoulder height, palms facing forward, elbows bent.
- Press both hands straight overhead until arms are nearly extended.
- Avoid arching your lower back as you press.
- Lower with control and repeat for 10 to 12 repetitions.
Cool-down (5 minutes): Finish with the stretching and mobility work outlined in Stretching and Mobility Routines for Desk Workers: Counteract Sitting and Improve Daily Movement, which translates well to any home exercise session.
How to Progress When the Routine Gets Easier
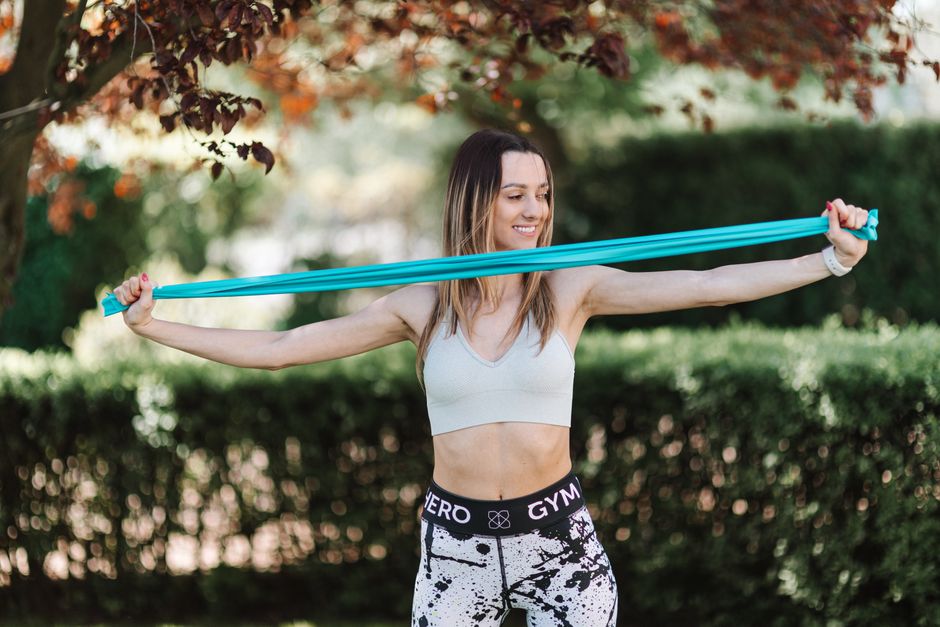
Progress in resistance band training works differently than adding weight plates, but the principle is the same: gradually increase the challenge your muscles face.
Step 1: Add reps. When 12 reps feels easy, try 15, then 20 before changing anything else.
Step 2: Add sets. Move from one set per exercise to two, then three over several weeks.
Step 3: Increase band resistance. Move from a light band to a medium band on specific exercises as you get stronger. You don’t need to increase all exercises at once.
Step 4: Slow the tempo. Try a 3-second lowering phase to add challenge without changing the band.
Step 5: Explore advanced variations. Single-leg glute bridges, banded Romanian deadlifts, and banded push-ups are natural next steps.
For a structured long-term plan that takes you from these fundamentals toward a more complete home strength routine, see Building a Sustainable Strength Training Routine at Home: Progressive Workouts From Bodyweight to Basic Equipment.
Women over 40 looking for specific guidance on muscle building and bone density will find targeted advice in Strength Training for Women Over 40: Build Muscle, Bone Density, and Confidence at Home.
Busy parents juggling workouts with family life can check out Building a Home Strength Routine as a Busy Parent: Real Workouts That Fit Into Family Life for scheduling strategies that actually work.
Common Mistakes Beginners Make With Resistance Bands
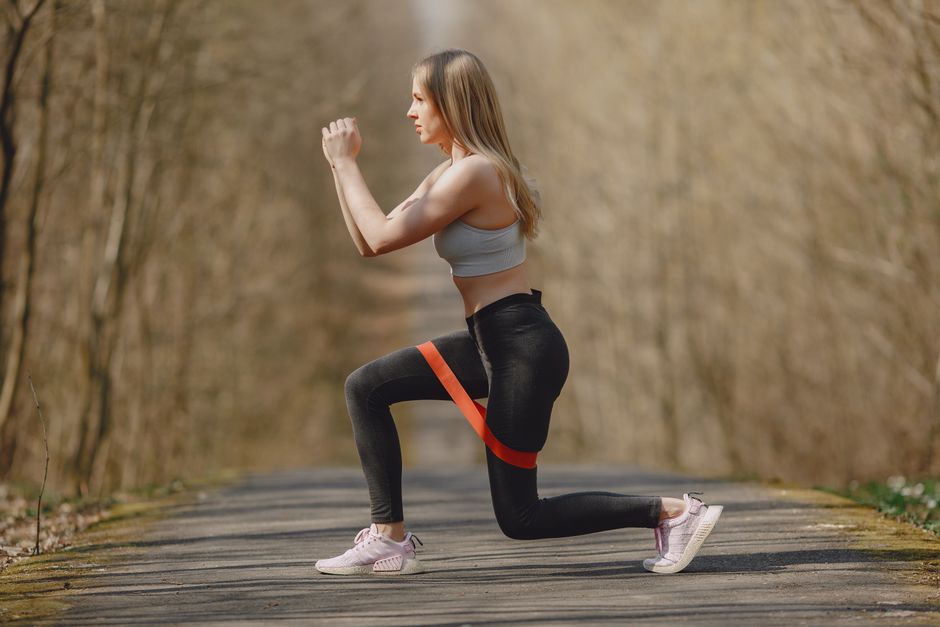
Using too much resistance too soon. Start lighter than you think you need. Poor form with a heavy band reinforces movement patterns that increase injury risk. Build the movement first, then add resistance.
Letting the band snap back. Controlling the return phase of every repetition is where a significant portion of the training benefit lives. Resist the urge to let the band pull your limbs back quickly.
Skipping the warm-up. Cold muscles and connective tissue are less pliable and more vulnerable. Five minutes of light movement before your workout makes a meaningful difference.
Working out through sharp joint pain. Muscle fatigue and mild discomfort are normal. Sharp, stabbing, or joint-specific pain is a signal to stop and assess. Soreness the day after a workout (delayed onset muscle soreness) is expected and generally harmless, while joint pain during movement is not.
Doing the same workout indefinitely. Your body adapts. Applying the progression steps above keeps your training effective and prevents plateaus.

Supporting Your Training With Recovery and Nutrition
Strength training creates small amounts of muscle stress that your body repairs between sessions, producing stronger, more resilient muscle tissue. This repair process requires two things: adequate rest and sufficient protein.
Plan at least one full rest day between resistance band sessions. Understanding why your body genuinely needs recovery time is covered well in Recovery Days and Active Rest: Why Your Body Needs Breaks as Much as It Needs Workouts.
On the nutrition side, getting enough protein supports muscle repair and helps you feel fuller for longer. If you’re looking for easy ways to eat more protein without elaborate meal prep, High-Protein Snacks and Light Meals for Sustained Energy Between Meals: Real Options Beyond Bars and Shakes offers practical, budget-friendly ideas that fit around a training schedule.
Frequently Asked Questions
Q: How many days per week should a beginner do resistance band workouts?
A: Two to three days per week is a good starting range for beginners. This allows adequate recovery between sessions while providing enough stimulus for gradual strength gains. As your fitness improves, you can increase frequency or split the routine to focus on different muscle groups on different days.
Q: Will resistance bands actually build visible muscle?
A: Yes, research suggests that resistance band training can stimulate meaningful muscle growth, particularly in beginners who are starting from a lower baseline. The key is applying progressive overload over time, which means gradually increasing the challenge as described in the progression section above.
Q: What resistance level should a complete beginner choose?
A: Most beginners do well starting with a light or medium resistance band for upper body exercises and a medium band for lower body movements. If you can complete 12 repetitions with good form and feel like you could easily do 8 more, the band is probably too light. If your form breaks down before 8 reps, it may be too heavy.
Q: Can resistance bands replace dumbbells and machines?
A: For many people, especially beginners, bands provide sufficient resistance to build strength, improve muscle tone, and support healthy body composition. As your strength increases, you may eventually want to add other equipment, but bands are a complete and legitimate training tool, not just a placeholder.
Q: Are resistance band workouts safe for people with joint issues?
A: Resistance band exercises are generally considered lower impact than heavy free-weight training, but joint health varies significantly by individual. If you have a known joint condition, recent injury, or chronic pain, consult a qualified healthcare professional or a licensed physical therapist before starting any new exercise program. They can help you modify exercises to match your specific needs.
A Note on Safety and Professional Guidance
This article is for general educational and informational purposes only and is not a substitute for medical advice, diagnosis, or treatment. Health needs vary by individual. Consult a qualified healthcare professional before making significant changes to your diet, exercise routine, supplements, medication, or treatment plan, especially if you have a medical condition, are pregnant or breastfeeding, take medication, or have concerns about your symptoms.
If you experience chest pain, dizziness, shortness of breath beyond normal exertion, or sharp joint pain during any exercise, stop immediately and seek appropriate medical attention.
Your Next Step Starts Small
The best workout routine is the one you actually begin. You don’t need to do all seven exercises perfectly on your first session. Pick two or three movements that feel most accessible to you today, set a timer for fifteen minutes, and practice them with focused attention on your form.
That’s a complete, successful workout for a beginner.
As your confidence builds, add one exercise at a time until you’re comfortable with the full routine. Consistency over weeks matters far more than intensity on any single day. If you’re building other sustainable habits alongside your movement practice, the encouraging real-world examples in How Three Readers Built Sustainable Healthy Habits Without Perfectionism: Real Stories and Honest Lessons may help you stay motivated during the inevitable moments of doubt.
Pick one exercise from this guide. Try it today. That’s the whole plan.