
Strength training is one of the most well-researched tools for improving your body composition, bone density, metabolic health, and even your mood. Yet for many beginners, the idea of starting feels overwhelming. Gyms can feel intimidating, equipment seems expensive, and without a clear plan it is easy to either push too hard and burn out or stay too cautious and stop seeing results.
The good news is that you do not need a gym membership, a rack of dumbbells, or hours of free time to build real strength. You need a repeatable system, some floor space, and a willingness to show up consistently. This tutorial walks you through exactly that: a practical progression from pure bodyweight movements to simple affordable tools, with honest guidance on pacing, form, rest, and what realistic progress actually looks like for strength training at home beginners.
If you are curious about the fundamentals before diving in, Strength Training for Beginners at Home: Build Confidence and Lean Muscle Without Equipment or a Gym is a great companion to bookmark alongside this guide.
Why Strength Training Matters Beyond the Gym
Strength training is often associated with bodybuilders or athletes, but the research tells a broader story. Regular resistance exercise supports fat loss and improved body composition, maintains and builds lean muscle mass (which tends to decline after your late twenties), improves insulin sensitivity and metabolic health, increases bone mineral density (particularly important for women over 40), and may reduce symptoms associated with anxiety and depression, according to multiple systematic reviews.
None of these benefits require a gym. What they require is progressive overload: the principle of gradually increasing the challenge placed on your muscles over time. You can apply that principle with your own bodyweight, a filled backpack, or a single set of resistance bands.
Understanding Progressive Overload for Beginners
Before you plan a single workout, understanding progressive overload will save you months of spinning your wheels.
Progressive overload simply means making your workouts slightly harder over time, so your muscles have a reason to adapt and grow stronger. You can apply it in several practical ways:
- Increase reps: If you can do 8 push-ups, work toward 10, then 12.
- Improve range of motion: A deeper squat engages more muscle than a shallow one.
- Slow the tempo: Lowering yourself for 3-4 seconds increases time under tension.
- Reduce rest: Shortening rest periods makes the same workout more demanding.
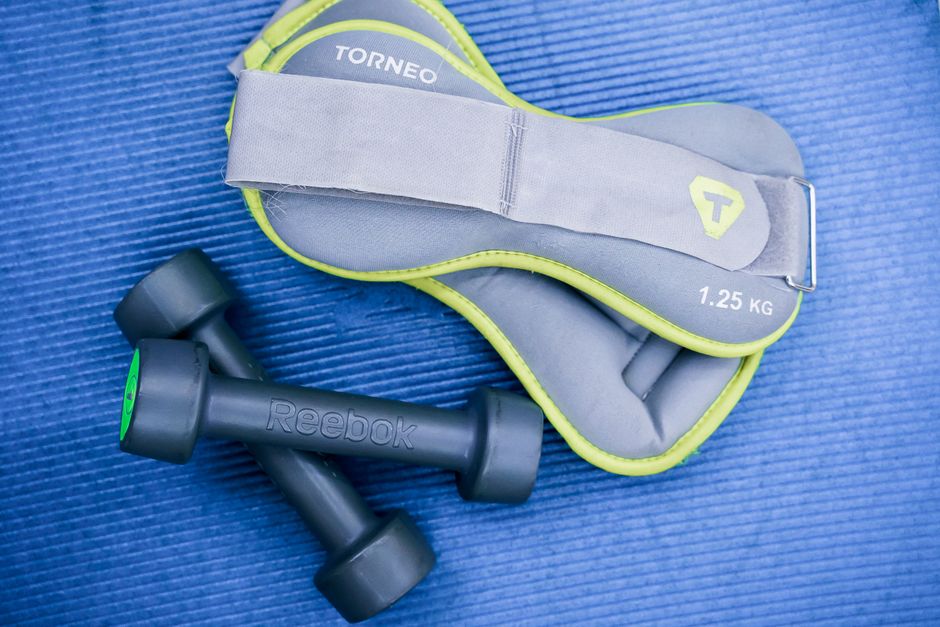
- Add external load: Move from bodyweight to a weighted backpack, then to resistance bands or dumbbells.
You do not need to use all of these at once. Focus on one variable at a time, especially at the beginning. Many beginners make faster progress by mastering form and increasing reps first, then adding load later.
Phase 1: Bodyweight Foundations (Weeks 1-4)
Your First Four Movements
Bodyweight training is not a stepping stone to “real” training. It is real training. Many athletes return to pure bodyweight work regularly because it demands coordination, stability, and full-body engagement.
For strength training at home beginners, these four movement patterns cover your entire body:
- Push (upper body pressing): Push-ups, starting on your knees if needed.
- Hinge (posterior chain): Glute bridges, working toward single-leg versions.
- Squat (lower body): Bodyweight squats, working toward pause squats.
- Core anti-rotation/bracing: Dead bugs or plank holds.
A Simple Week 1-4 Template
Aim for 3 sessions per week with at least one rest day between sessions. Each session takes roughly 25-35 minutes including warm-up.
Warm-up (5 minutes): Arm circles, hip circles, leg swings, 10 slow bodyweight squats.
Session A:
- Push-ups: 3 sets of 6-10 reps
- Glute bridges: 3 sets of 10-12 reps
- Bodyweight squats: 3 sets of 10-15 reps
- Dead bugs: 3 sets of 6 reps per side
Rest 60-90 seconds between sets. Work toward the higher end of each rep range before progressing.
Form Cues That Actually Help
Push-ups: Keep your body in one straight line from head to heel (or head to knee). Lower your chest to within a fist’s width of the floor. Do not let your hips sag or pike up.
Glute bridges: Press through your heels, squeeze your glutes at the top, and keep your ribcage down to avoid over-arching your lower back.
Bodyweight squats: Feet shoulder-width apart, toes slightly out. Think about spreading the floor apart with your feet as you lower. Your chest stays tall and your knees track over your toes.
Dead bugs: Press your lower back into the floor throughout. Extend opposite arm and leg slowly, exhale as you lower, inhale as you return.
If you also want to improve flexibility alongside these movements, Stretching and Mobility Routines for Desk Workers: Counteract Sitting and Improve Daily Movement includes practical mobility work that pairs well with beginner strength sessions.
Phase 2: Household Progressions (Weeks 5-8)
Making Your Home Into a Training Environment
Once you can complete Phase 1 sessions comfortably with good form, it is time to increase the challenge. You do not need to buy anything yet. Look around your home:
- A sturdy chair or couch arm supports elevated push-ups or dips.
- A filled backpack (start with 5-10 lbs of books or bottled water) adds load to squats and hinges.
- A low table or stairs supports step-ups and incline rows (lie underneath and pull yourself up to the edge).
- A towel on a smooth floor allows slider-style leg curls and lateral lunges.
Phase 2 Progression Exercises
Incline or decline push-ups: Elevating your feet increases chest and shoulder demand. Elevating your hands (hands on couch) makes it easier if standard push-ups are still challenging.
Loaded squat: Hug the filled backpack to your chest for a goblet-squat-style movement. Focus on depth and control.
Single-leg glute bridge: From Phase 1’s glute bridge, extend one leg and drive through the grounded heel only. Challenges hip stability and glute strength separately.
Furniture row: Lie under a sturdy table, grip the edge with an overhand grip, and pull your chest toward it. This is a horizontal pulling movement, which is often missing from beginner programs.
Step-ups: Use a step or a sturdy box. Drive through the heel of the elevated foot rather than pushing off the floor foot.
Week 5-8 Sample Template
Continue 3 sessions per week. Add a second day variation (Session B) to add movement variety without overtraining.
Session A: Loaded squats, furniture rows, push-ups (standard or elevated), single-leg glute bridges, dead bugs.
Session B: Step-ups, decline or standard push-ups, reverse lunges, plank shoulder taps, glute bridge march.
Rest 60-90 seconds between sets. Track your reps in a notebook or on your phone. When you hit the top of a rep range for two consecutive sessions, increase load or difficulty.
Phase 3: Introducing Affordable Equipment (Weeks 9+)
What to Buy First (and What to Skip)
If you decide to invest in equipment, resist the urge to buy everything at once. For strength training at home beginners, two purchases cover the most ground:
- A set of resistance bands (loop and long bands): Inexpensive, portable, and versatile. They add load to squats, hip hinges, rows, and pressing movements. They also allow you to assist pull-up progressions.
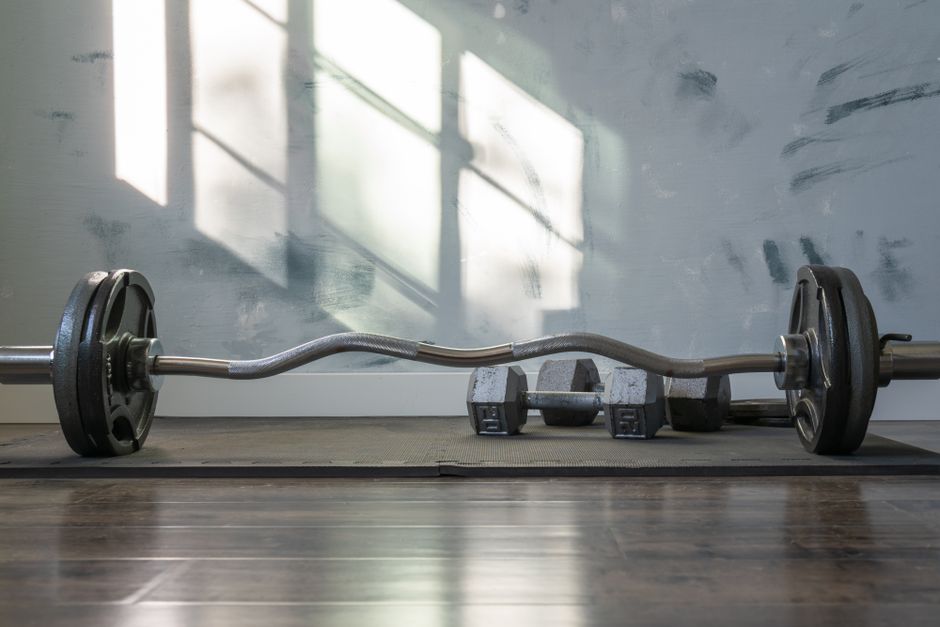
- A pair of adjustable dumbbells or a fixed pair in one moderate weight (15-25 lbs for most beginners): A single pair of dumbbells unlocks dozens of movements that are difficult to replicate with bodyweight alone.
Skip the barbell, weight bench, or cable machine for now. Those are great tools but they require more space, cost, and technique than most beginners need in their first several months.
Key Movements to Add With Equipment
Resistance band deadlift: Stand on the band, hold the handles, hinge at the hips, and drive through your heels to stand. A safe, low-barrier introduction to hip hinging under load.
Dumbbell goblet squat: Hold a single dumbbell vertically at chest height. Adds meaningful lower body load while the counterweight helps you maintain an upright torso.
Dumbbell Romanian deadlift (RDL): Hinge forward with soft knees, feeling a stretch in your hamstrings, then drive your hips forward to stand. One of the most effective posterior chain exercises you can do at home.
Dumbbell bent-over row: Hinge to about 45 degrees, brace your core, and row the dumbbell toward your hip. Builds the upper and mid-back strength that supports good posture.
Resistance band chest press or overhead press: Anchor the band behind you and press forward or overhead. A joint-friendly way to build pressing strength.
A Sample Phase 3 Full-Body Workout
Warm-up: 5 minutes of dynamic movement (same as Phase 1).
- Dumbbell goblet squat: 3 x 8-12
- Dumbbell RDL: 3 x 10-12
- Push-ups (standard or weighted vest): 3 x 8-15
- Dumbbell bent-over row: 3 x 10 per side
- Resistance band overhead press: 3 x 10-12
- Dead bugs: 3 x 8 per side
Rest 60-90 seconds between sets. Complete this as a full-body routine 3 days per week, or split into upper and lower days as your volume increases.
For readers who want a broader view of how strength training fits alongside other movement habits, Building a Sustainable Walking Plan for Fat Loss and Fitness Confidence explains how to layer daily walking into a fitness routine without overtraining.
Rest, Recovery, and Frequency
Rest is not a reward you earn after hard training. It is when your muscles actually rebuild and grow stronger. For beginners, 48 hours of rest between sessions targeting the same muscle groups is a well-supported guideline. That is why 3 non-consecutive days per week (Monday, Wednesday, Friday for example) works so well in the early months.
Active rest days can include a short walk, gentle stretching, or light mobility work. Heavy training on back-to-back days before your body has adapted is one of the most common reasons beginners feel beat up and quit.
Recovery Days and Active Rest: Why Your Body Needs Breaks as Much as It Needs Workouts goes deeper on why recovery is a non-negotiable part of any training plan, not just a placeholder between hard sessions.
Fueling Your Training Without Overthinking Nutrition
You do not need a complicated nutrition plan to support beginner strength training, but a few basics matter:
Protein: Research consistently supports that adequate protein intake helps preserve and build muscle. Aim for roughly 0.7-1 gram per pound of bodyweight per day as a general starting point. Distributed across meals, that might look like eggs at breakfast, beans or chicken at lunch, and fish or Greek yogurt at dinner. For practical ideas, High-Protein Breakfast Ideas for Steady Energy and Satiety and High-Protein Snacks and Light Meals for Sustained Energy Between Meals: Real Options Beyond Bars and Shakes are worth reading together.
Carbohydrates for energy: Carbohydrates are your muscles’ preferred fuel during higher-intensity movement. Whole grains, fruits, legumes, and starchy vegetables all support sustained energy without blood sugar spikes. Eating for Stable Energy: Nutrient Combinations That Keep You Full and Focused All Day explains this balance in a practical, non-restrictive way.
Hydration: Even mild dehydration can affect strength performance and recovery. Water remains the most reliable, accessible, and affordable option for most people.
You do not need protein shakes, special supplements, or pre-workout formulas to see results from strength training at home. Real food, eaten consistently, handles the job for the vast majority of beginners.

Common Mistakes That Slow Progress
Skipping the warm-up: Cold muscles are less pliable and more prone to minor strains. Five minutes of dynamic movement matters more than most beginners expect.
Chasing soreness as a sign of effectiveness: Muscle soreness (DOMS) is a sign of novelty, not necessarily a sign of a good workout. As you adapt, sessions may feel less brutal even while producing real strength gains.
Neglecting pulling movements: Most beginner programs are push-heavy. The furniture row and dumbbell bent-over row prevent shoulder imbalances that can lead to discomfort over time.
Trying to do too much too soon: Two to three sets per exercise, three days per week is genuinely enough volume for a beginner to make consistent progress. Adding more sessions or exercises in week two rarely accelerates results and often increases injury risk.
Comparing your week two to someone else’s year two: Social media is full of advanced athletes demonstrating impressive movements. Your starting point is your starting point, and gradual progress is real progress.
Reading about how others have navigated similar struggles can be grounding. How Three Readers Built Sustainable Healthy Habits Without Perfectionism: Real Stories and Honest Lessons captures that spirit well.
What Realistic Progress Actually Looks Like
Many beginners expect visible muscle changes within a few weeks. The honest timeline is different. During the first 4-8 weeks, most of your strength gains come from neurological adaptations: your nervous system learns to recruit muscle fibers more efficiently. You will likely feel stronger and notice improved coordination before you see visible changes in your physique.
Body composition changes (more lean tissue, less body fat) typically become more noticeable after 8-16 weeks of consistent training combined with adequate nutrition. That timeline varies significantly based on genetics, starting point, sleep quality, stress levels, and how consistently you train and eat.
For women over 40, hormonal shifts can affect recovery speed and body composition timelines. Strength Training for Women Over 40: Build Muscle, Bone Density, and Confidence at Home addresses those specific considerations directly.
Tracking progress through something other than the scale (rep counts, how exercises feel, photos, energy levels) tends to keep beginners more motivated than scale weight alone, which fluctuates daily for reasons unrelated to fat or muscle.
Safety Notes and When to Consult a Professional
Most healthy adults can begin a bodyweight training routine without medical clearance, but you should consult a qualified healthcare professional before starting a new exercise program if you have a cardiovascular condition, bone density concerns, chronic joint pain, a recent injury or surgery, pregnancy, or any condition where exercise intensity may need to be modified.
If you experience sharp joint pain (as distinct from normal muscle fatigue) during any exercise, stop the movement and rest. Pain that persists or worsens over multiple sessions warrants a conversation with a sports medicine physician or physical therapist before continuing.

Frequently Asked Questions
How many days per week should a beginner do strength training at home?
Three non-consecutive days per week is a reliable starting point. This provides enough stimulus for strength and muscle development while giving your body adequate time to recover between sessions. More is not always better, especially in the first several weeks.
Do I need to feel sore after every workout to know it is working?
No. Soreness reflects tissue novelty, not workout quality. After a few weeks your body adapts to your training and soreness naturally decreases. That is normal and expected. Focus on whether your reps, range of motion, or load are improving over time instead.
Can I lose fat and build strength at the same time as a beginner?
Yes. Beginners are in a favorable position to improve body composition simultaneously. This is sometimes called body recomposition and research suggests it is most pronounced in people new to resistance training, especially when protein intake is adequate.
How long before I need to progress from bodyweight to equipment?
There is no fixed rule, but a practical guideline is to progress when you can complete the top of a rep range with good form for two to three consecutive sessions. Some people stay primarily at bodyweight for months and still make meaningful progress by increasing difficulty through tempo and movement variation.
Is strength training at home safe if I have lower back pain?
Lower back pain is common and nuanced. Gentle movement is generally preferable to complete rest for most non-acute lower back issues, but the appropriate exercises depend heavily on the cause. If you have persistent, sharp, or radiating back pain, work with a qualified healthcare professional or physical therapist before loading those movements.
This article is for general educational and informational purposes only and is not a substitute for medical advice, diagnosis, or treatment. Health needs vary by individual. Consult a qualified healthcare professional before making significant changes to your diet, exercise routine, supplements, medication, or treatment plan, especially if you have a medical condition, are pregnant or breastfeeding, take medication, or have concerns about your symptoms.
Your Next Step
You do not need to overhaul your entire lifestyle this week. Choose one phase from this guide that matches your current fitness level and commit to three sessions over the next seven days. Track your reps on your phone or in a notebook. Notice how the movements feel rather than how they look.
If you are building broader healthy habits alongside your training, exploring the full Clean Body Mentor wellness library will give you practical, encouraging guidance across sleep, nutrition, movement, and mental well-being. Consider signing up for the newsletter if you want a manageable dose of evidence-informed wellness guidance delivered weekly, without the overwhelm.