
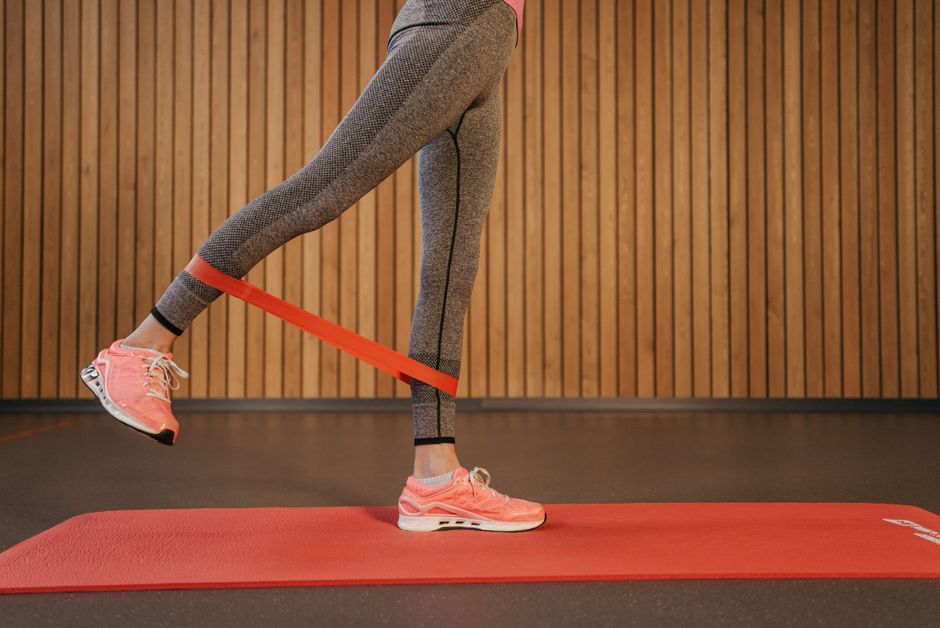
If climbing stairs leaves your thighs burning or long walks tire you out faster than they used to, your legs may simply need more consistent training stimulus. The good news is that a solid home leg workout with no equipment can do more than most people expect, especially when you progress deliberately rather than randomly.
This tutorial walks through five drills in a logical order, from the most approachable to the most challenging, with beginner modifications and a four-week progression plan you can actually follow.
Why Leg Strength Matters Beyond the Gym
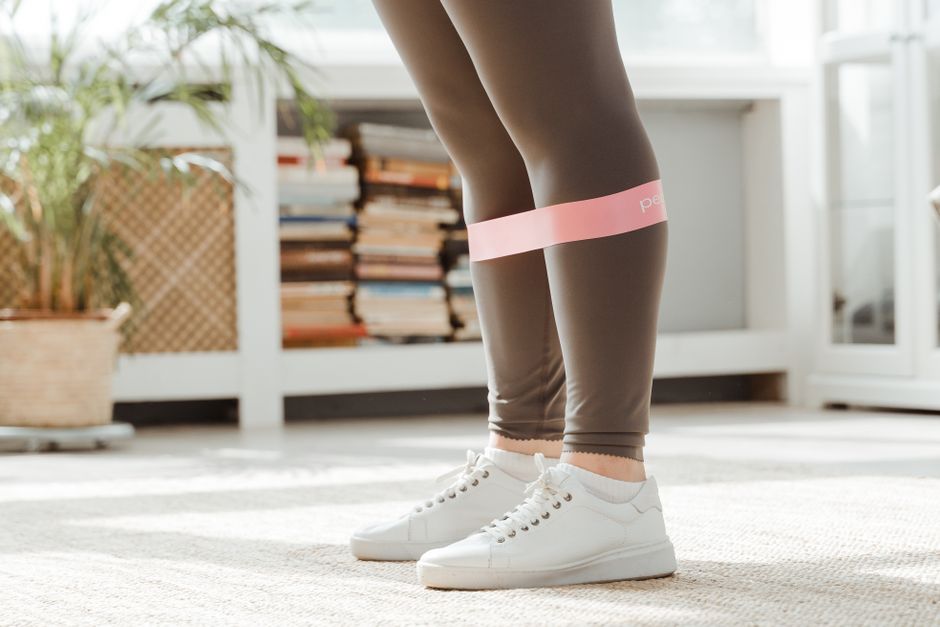
Strong legs and glutes support nearly every movement you do: standing from a chair, catching yourself before a stumble, walking uphill, and carrying groceries without lower-back strain. Research published in the British Journal of Sports Medicine (2022 systematic review on resistance training and functional capacity in older adults) consistently links lower-body strength to reduced fall risk, better balance, and maintained independence over time.
Bodyweight training, when structured progressively, produces meaningful strength gains. The key word is progressive: your muscles adapt only when the demand increases over time. If you want to understand why that principle matters so much, the guide on Intuitive Strength Training at Home: Why Progressive Bodyweight Beats Generic Workout Plans explains the mechanics clearly.
The Five Drills
Drill 1: Box Squat (Sit-to-Stand)
Why it works: Starting from a seated position removes the fear of falling and teaches proper hip-hinge mechanics. It targets the quads, glutes, and hamstrings in a pattern identical to real daily movement.
How to do it: Sit at the edge of a sturdy chair with feet hip-width apart. Lean slightly forward from the hips (not the waist), press through your heels, and stand fully upright. Lower back slowly with control, making gentle contact with the seat before rising again.
Beginner modification: Use armrests lightly for balance support. Remove that support as you grow stronger.
Progression target: Work toward 3 sets of 12 reps with a 3-second lowering phase.
Drill 2: Supported Reverse Lunge
Why it works: Lunges train each leg independently, which corrects side-to-side imbalances that accumulate from years of favoring one leg. Stepping backward (rather than forward) is gentler on the knee joint for most beginners.
How to do it: Stand behind a counter or sturdy chair back. Step one foot backward and lower your back knee toward the floor. Keep your front shin roughly vertical. Push through the front heel to return to standing.
Beginner modification: Reduce the depth of the lunge so the back knee only drops a few inches. Increase range gradually over weeks.
Progression target: 3 sets of 10 reps per leg with no hand support.
Drill 3: Wall Sit
Why it works: The isometric hold builds quad endurance and positional strength that directly supports the locked-knee stability you need when walking downhill or descending stairs.
How to do it: Lean your back flat against a wall and slide down until your thighs are roughly parallel to the floor (or as low as comfortable). Hold for time, breathing steadily.
Beginner modification: Start with a higher position (thighs at roughly 45 degrees) and hold for 15-20 seconds.
Progression target: Two holds of 45-60 seconds at thigh-parallel height.
Drill 4: Glute Bridge
Why it works: Weak glutes are one of the most common contributors to knee pain and lower-back fatigue during walks. Bridges isolate the glutes and hamstrings in a low-risk position. If your ankles and calves have been restricting your movement, pairing this work with the mobility drills in How Tight Calves and Weak Ankles Sabotage Your Walking Habit can make a noticeable difference.
How to do it: Lie on your back with knees bent and feet flat, hip-width apart. Press through your heels and raise your hips until your body forms a straight line from knees to shoulders. Squeeze your glutes at the top for one second, then lower with control.
Beginner modification: Reduce the hold at the top to a simple tap-up-and-down rhythm if the full pause feels too hard.
Progression target: 3 sets of 15 reps with a 2-second hold at the top. From here, single-leg bridges become the next challenge.
Drill 5: Step-Up (Bottom Stair or Low Step)
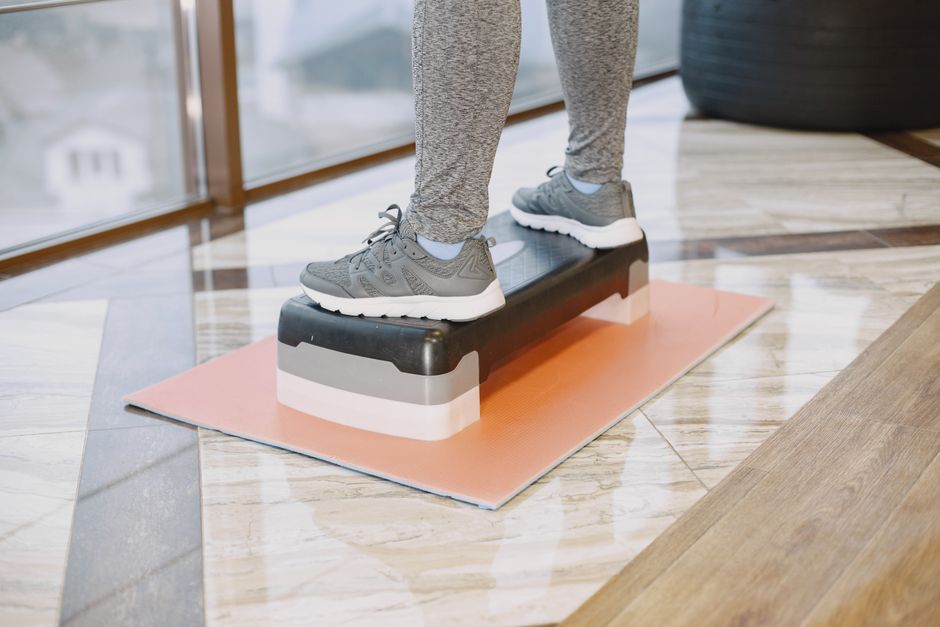
Why it works: The step-up replicates stair climbing under controlled conditions. It trains the quad, glute, and hip flexor in a functional, loaded pattern. Because you decide the step height, progression is built in.
How to do it: Place one foot fully on a bottom stair or a sturdy low step. Press through that heel to lift your body, bring the trailing foot up to stand on the step, then lower back with control. Alternate lead legs or complete one side at a time.
Beginner modification: Use a very low step (4-6 inches) and hold a wall for balance.
Progression target: 3 sets of 10 reps per leg using a step that brings your thigh close to parallel.
A Four-Week Progression Plan
Consistency matters more than intensity at the start. Aim for two to three sessions per week with at least one rest day between sessions.
Week 1: Box squats (2×10), supported reverse lunges (2×8 per leg), wall sit (2×20 sec), glute bridge (2×12). Skip step-ups for now.
Week 2: Box squats (3×10 with 3-sec lower), reverse lunges with less hand support (2×10 per leg), wall sit (2×30 sec), glute bridge (3×12 with 1-sec hold). Introduce step-ups (2×8 per leg on a low step).
Week 3: All five drills. Increase reps by 2 or hold times by 10-15 seconds across each. Try one set of single-leg bridges if glute bridges feel easy.
Week 4: Hit the progression targets listed under each drill. If any drill feels genuinely easy for all sets, add a 2-second pause at the hardest point (bottom of a squat, top of a bridge) rather than rushing to harder variations.
For a broader look at fitting this kind of work into a short daily window, the Strength Training on a 20-Minute Budget guide pairs well with this plan.
Listening to Your Body During Leg Training
Muscle soreness one to two days after a session is normal and expected, especially in the quads, glutes, and inner thighs. Sharp pain during a movement, joint pain that persists beyond training, or swelling are signals to stop and rest. If discomfort does not resolve within a few days, consult a qualified healthcare professional before continuing. Understanding the difference between soreness and injury is covered in depth in Strength Training Soreness vs. Injury Pain: How to Tell the Difference.
One Small Step Forward
Pick one drill from this list, the one that feels most manageable, and do it today. Two sets is enough to start. Repeat it every other day this week, then add a second drill in week two. Sustainable progress in a home leg workout with no equipment comes from showing up consistently, not from doing everything perfectly on day one.
If you want more practical movement guidance delivered weekly, the Clean Body Mentor newsletter is a good place to stay connected to new guides as they arrive.
This article is for general educational and informational purposes only and is not a substitute for medical advice, diagnosis, or treatment. Health needs vary by individual. Consult a qualified healthcare professional before making significant changes to your diet, exercise routine, supplements, medication, or treatment plan, especially if you have a medical condition, are pregnant or breastfeeding, take medication, or have concerns about your symptoms.
Sources
- Fragala, M.S., et al. “Resistance Training for Older Adults: Position Statement from the National Strength and Conditioning Association.” Journal of Strength and Conditioning Research, 2019. (Available via PubMed)
- British Journal of Sports Medicine systematic review data on resistance training and functional capacity, 2022 (search: BJSM resistance training functional capacity older adults).
- American College of Sports Medicine (ACSM): Position Stand on Quantity and Quality of Exercise for Health. ACSM, available at acsm.org.